Programing MADDAQ Xilinx
To program the FPGA you should open Impact:
shell
 #>~/scripts/run_impact.sh
and you will have a chain like the one in the picture
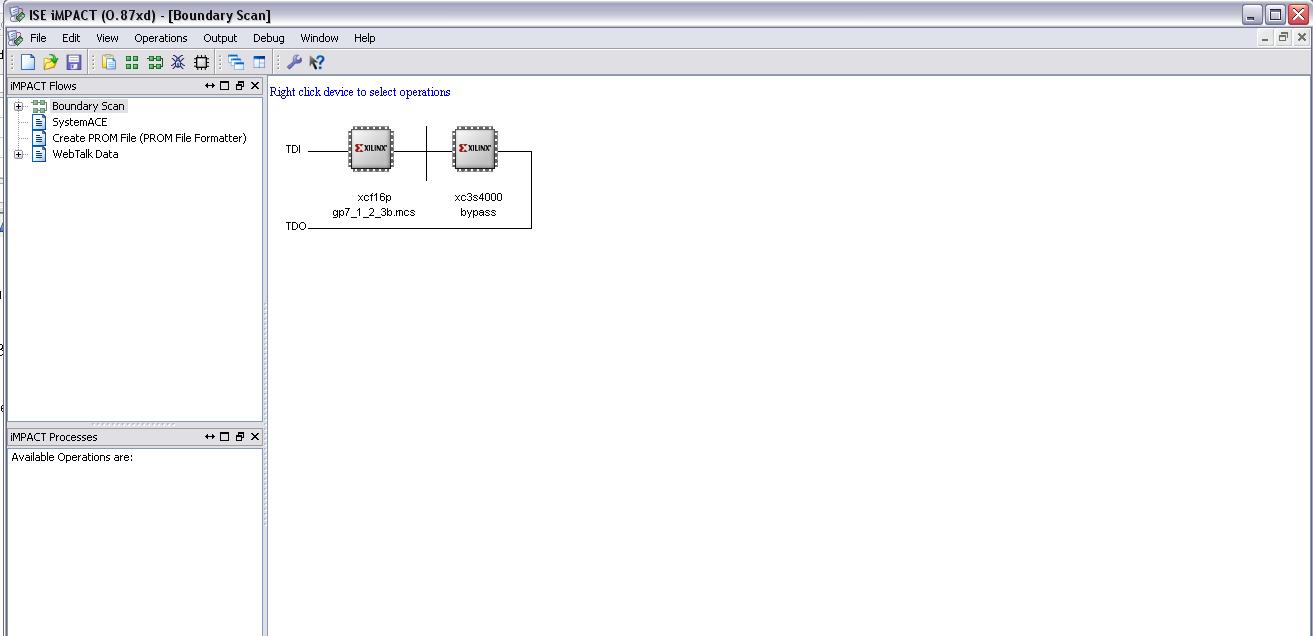
with the device xcf16p (flash) loaded with the firmware and the second device bypassed.
The in the programming properties window you should select verify and most important Parallel.
Then, connect the JTAG programmer to the board, power the maddaq,right click on the xcf16p device -> program and the process will start. It takes a little bit to finish.
Once finished, press the FPGA PROG button on the Maddaq or just power off and on the board and the new firmware will be loaded.
Tricks in installing driver
In general, follow instructions from here.
But - do not attempt to compile 32bit driver, but just compile the normal 64bit by:
cd usb_driver
sudo make
The connection between the installed driver and the loader
is made in ~/scripts/run_impact.sh via setting of the
LD_PRELOAD enviromental variable.
Untested
If 32bit is required, 32bit dev packages will be needed. Some of the will show up in package manager, and some won't. So here I list the important ones:
#>apt-get install lib32gcc-4.8-dev libusb-dev:i386
After that, the driver should compile in 32bit mode also.
The required software:
The following pieces of software are required:
- Xilinx code, specifically
impactexecutable - driver, see above
- run_impact.sh script